DLTK's Crafts for Kids
Leafy Little Chicks - A Fun Outdoor Craft for Kids
 Get ready for a fun and simple nature-inspired craft! We're going to create adorable little chicks using just two leaves. Not only will you enjoy making this craft, but you'll also have fun wandering around to collect the perfect leaves. So let's get outside, enjoy some fresh air, and make some leafy little chicks!
This delightful leafy chick craft can be enjoyed throughout the year, bringing a touch of nature's beauty to each season. In spring, we can utilize leaves pinched off our starter plants to encourage bushier growth, or even find last autumn's lingering leaves that haven't become too crunchy. As summer arrives, we are greeted with an abundance of vibrant green leaves, offering a variety of shapes and sizes to create our little chicks. And when fall paints the landscape with its warm hues, we can incorporate the stunning colors of autumn leaves, adding a seasonal touch to our craft. In winter we switch to pinecone chicks! No matter the time of year, there is always an opportunity to connect with nature and create charming found object animals that celebrate the beauty of each season.
Materials:
- 2 leaves (1 large and 1 smaller) for each chick
- Waxed paper
- Glue
- Two heavy books or a flower press
- White or colored paper (optional)
- Markers or acrylic paint (optional)
- Scissors (optional)
Instructions:
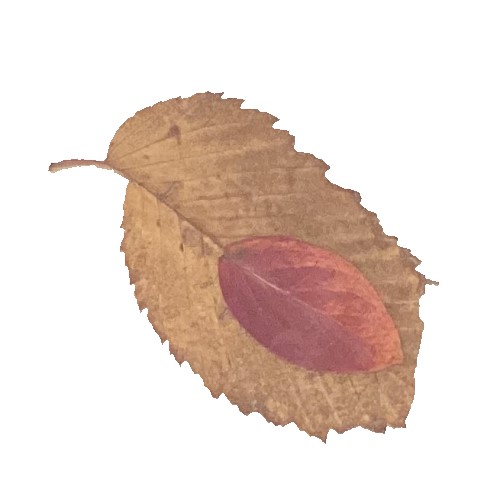
- Head outside and explore your backyard, a park, or a nearby forest to find the perfect leaves for your craft. Look for one large leaf to use as the chick's body and a smaller leaf to be the wing. Make sure the leaves are fresh and not too dry, so they'll be easy to work with.
- Place the larger leaf on a flat surface, with the stem end facing up. The stem will be the chick's beak. Glue the smaller leaf with the pointy side facing down onto the side of the larger leaf to create the wing. Let the glue dry completely.
- Add Details (optional): Use markers or acrylic paint to draw an eye on your chick. You can also add little feet if you glue your creation to a piece of background paper. Get creative and add any other details you like.
- Press Your Chick: Cut a piece of waxed paper large enough to cover your chick. Place the waxed paper over the chick and gently press down. Place your chick (covered in waxed paper) between the pages of a heavy book or a flower press. Leave it for a few days to allow the leaves to dry and flatten.
- Display Your Creation: Once your leafy chick is dry and pressed, carefully remove it from the waxed paper. You can glue your chick to a piece of paper to display on the fridge, use it as the front of a card, or even frame it as a keepsake (the photo of the leaf chick on the site is of a keepsake we made about 10 years ago... they really do last nicely once they're pressed, though his tail did break off a bit when we were framing him).
- Encourage your friends and family to join you in making their own leafy chicks. This is a great way to get everyone outside, enjoying nature, and creating a fun craft together.
Now that you've made your adorable leafy chick, be proud of your creation and enjoy displaying it for everyone to see. This simple and fun outdoor craft is a perfect way to enjoy the beauty of nature while creating a special keepsake. Happy crafting!
Leanne
Print friendly version of these instructions