DLTK's Crafts for Kids
DIY Paper Mache Ornaments: Add a Homemade Touch to Your Tree
There's something especially heartwarming about homemade Christmas ornaments. This tutorial will guide you on how to create charming paper mache ornaments that add a unique, personal touch to your holiday decor.
Using the paper mache ball craft we've previously learned, we'll add a twine loop that allows it to be hung from your Christmas tree. Get ready to dive into the fun and festive world of DIY holiday crafts!
Materials:
- Paper Mache Ball (created from previous tutorial)
- Twine or any strong string
- Scissors
- All-purpose white flour
- Water
- Mixing bowl
- Paintbrush
- Acrylic paint (optional)
- Glitter (optional)
- Clear acrylic sealer or varnish (optional)


Instructions:
- Create Paper Mache Paste: In a mixing bowl, combine one part flour with one part water to create a smooth, pancake-batter-like paste.
- Prepare Cardboard Circles: Use a string or a compass to draw four identical circles on your piece of cardboard and cut them out with scissors. Cut all but one of them in half.
- Create the Base: Glue the half circles onto the full circle using your glue gun. Crumple old newspaper into a ball that fits between your cardboard wedges. Secure the newspapers with tape if necessary.
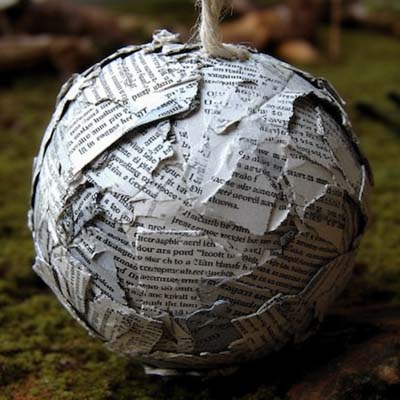
- Apply the Paper Mache: Tear your remaining newspaper into strips. Dip each strip into your paste, ensuring it's fully coated, and then apply the strip to your round base. Continue this process until the entire surface is covered with a layer of newspaper strips.
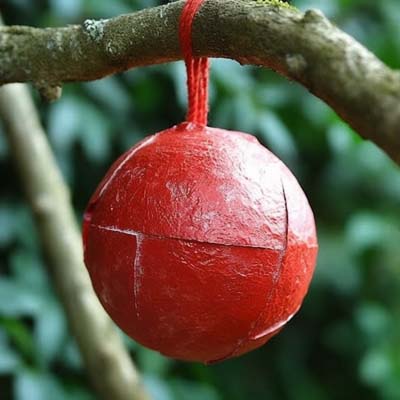
- Prepare the Twine Loop: Cut a piece of twine or string, about 6 inches long. Tie the ends together to form a loop.
- Attach the Loop: Position the twine loop at the top of your paper mache ball, and ensure it sticks out enough to hang on your Christmas tree.
- Add More Layers: Repeat the process, adding two or more layers of newspaper strips until your base is completely covered. Remember, the more layers you add, the stronger your ball will be.
- Dry the Ball: Allow your paper mache ball to dry completely. Depending on the number of layers and your room's humidity, this could take up to 24 hours.
- Decorate Your Ornament (Optional): Once your paper mache ornament is dry, it's time to get creative! You can paint your ornament using acrylic paints, add glitter for that festive sparkle, or even draw on it with permanent markers.
- Seal Your Ornament (Optional): For a glossy finish and extra protection, consider adding a clear acrylic sealer or varnish.
There you have it, your very own homemade paper mache Christmas ornament! Remember, these ornaments aren't just for the holidays. With different paints and decorations, you can create ornaments for any season or celebration.
Happy crafting, and may your holidays be filled with joy and creativity!
Leanne
Print friendly version of these instructions.