DLTK's Crafts for Kids
Paper Bag Elephant Puppet
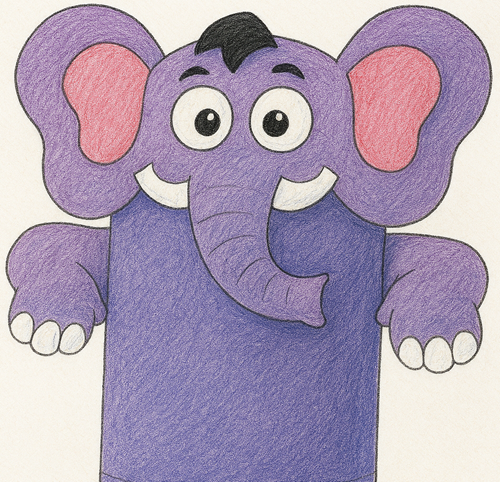 This is a fun and easy cut and paste paper craft that uses a paper bag as a base to make an elephant puppet. I think puppets are a great tool to use in the preschool and kindergarten
classroom!
This is a fun and easy cut and paste paper craft that uses a paper bag as a base to make an elephant puppet. I think puppets are a great tool to use in the preschool and kindergarten
classroom!
Materials:
You can make a grey elephant or use different colors for a pink, white or any other colored version if you feel like getting creative.
- a paper lunch bag (white would be good for this project, but brown is ok too),
- grey paint or grey paper (or color of your choice if you're making a different colored elephant)
- a printer,
- some crayons,
- scissors,
- glue,
- paper for the printer

Kaitlyn, age 5
Optional:
- big wiggly eyes
Print the Template:
- Print out the template of choice (color or b&w)
- Color (as required) and cut out the template pieces.

Get Familiar with Your Paper Bag:
- I'm going to walk through this slowly. Look at your paper bag.
- It should be closed and flat like a piece of paper. Just like when they are brand new.
- On one side, it's all smooth. This will
be the
BACK of your puppet
- It's important that all the kids get the back and front straight at the beginning!
- On the other side there's a flippy tab (which
is typically the bottom of the bag when you're carrying your lunch around...)
- This flippy tab will be the HEAD
- Lift the flippy tab up a bit. Underneath
of the tab will be the mouth,
- When the child puts her hand in the bag, she'll be able to make the puppet talk.
- Look at the rest of the front of the bag. (The 3/4 or so of the bag below the part with the flippy tab) This will be the BODY.
- Look at the sides of the bag. There
should be a
FLAP
of paper.
- We'll be slipping the arms (template 2) into this flap.
- If the kids goof and glue the arms onto the front or back of the bag, it isn't a big deal.
- OK, now that we're comfy with our bags, let's craft!
Template #1
- Grey Elephant: Cover the paper bag with grey paper (just glue it on and trim) or paint the paper bag grey and let dry.
- Glue the tongue underneath the flippy tab so you can see a tiny part of the circle sticking out when the flap is closed.
- Glue the hair tuft at the top of the head.
- Glue the eyes onto the HEAD just under the hair tuft. If you like, you can use wiggly eyes instead of the paper template pieces.
- Glue the tusks sticking out from the back side of the trunk.
- Glue the trunk onto the HEAD. It will hang down over quite a bit of the BODY. Make sure you just put glue on top of the trunk (where it touches the HEAD) so you don't end up gluing the mouth shut.
- Glue the ears onto the sides of the HEAD (the second ear is on Template 2). Like with the trunk, make sure you only put glue on the part of the ears that will be touching the HEAD ... Not the parts that will touch the BODY so you don't end up gluing the mouth shut.
- Glue the ear middles onto the ear.
Template #2
- Glue the arms into the FLAP.
- Glue the tail onto the BACK.
Templates:
- Close the template window after printing to return to this screen.
- Set page margins to zero if you have trouble fitting the template on one page (FILE, PAGE SETUP or FILE, PRINTER SETUP in most browsers).
Template 1: (color) or (B&W)
Template 2: (color) or (B&W)
Print friendly version of these instructions